geo-11 fix for Rayman 3: Hoodlum Havoc. It requires dgVoodoo to wrap the game to DX11.
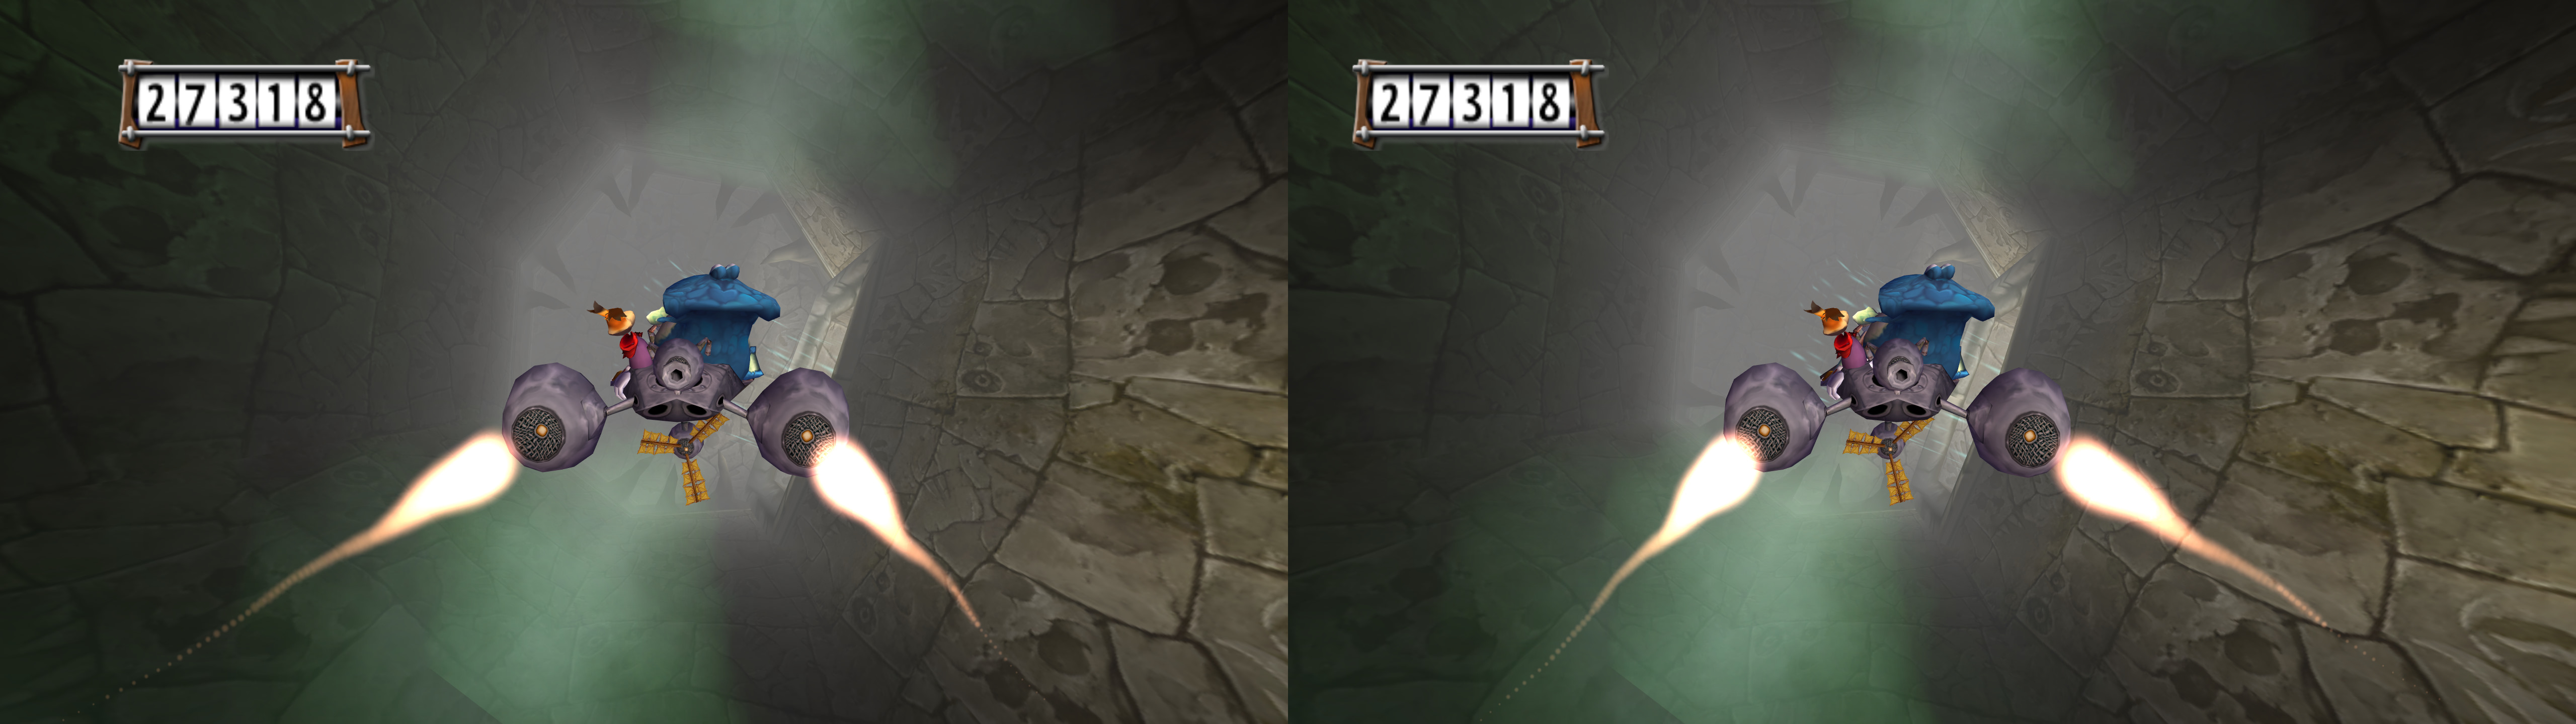
Fixed- HUD elements and black bars that weren't recognized as static elements. Now they are visible at playable convergence levels.
Installation- First of all, install "Better Rayman 3" to be able to easily play in widescreen, as well as other improvements. Configure it to fullscreen and your resolution with "BR3_Config.exe".
- Once that's done, open "d3d8.ini" and set "D3d8to9" to 1. This will convert the game from DX8 to DX9.
- At this point, if you're using a Nvidia GPU with the 3D Vision driver installed and a 3D Vision display, you can stop and play in DX9 without trouble, because dgVoodoo casuses some minor visual glitches. If you need it to be in DX11 to use dgVoodoo, continue with the instructions.
- geo-11 (with build v0.6.58): download this file and extract its contents in the "Rayman 3" folder, where "Rayman3.exe" is. Remember to edit "d3dxdm.ini" to change your "direct_mode" to the output you need. It's sbs by default. For 3D Vision monitors, use "direct_mode = nvidia_dx11" in "d3dxdm.ini". "swap_effect = 4" is enabled by default in "d3dx.ini" to force flip model. "direct_mode = nvidia_dx9" didn't work for me.
- Download the latest version of dgVoodoo. Confirmed latest working version is v2.79.2.
- Copy the "D3D9.dll" file from the "MS\x86" dgVoodoo folder to the "Rayman 3" folder.
- Open "dgVoodooCpl.exe" to configure the game like this, but using your preferred antialiasing and other things:
- After applying the settings, it should have generated a "dgVoodoo.conf" file in the "Rayman 3" folder.
- Launch the game.
Hotkeys- F2 or XB_RIGHT_THUMB: convergence presets (2, 6). 6 by default. The other preset is intended for cutscenes, shooting sections, driving sections, etc.
- F3 or XB_LEFT_THUMB: HUD depth presets (0%, 20%, 40%, 60%, 80%, 100%). 40% depth by default.
Notes- I recommend capping the fps to the number of per eye frames you need, to avoid some microstutter that happens if you don't do it.
If you liked the fix and want to contribute for more future fixes, you can donate to this PayPal account:
masterotakusuko@gmail.com


Comments
Post a Comment